How can you create a custom enamel badge that stands out?
Are you thinking about making a custom badge but are not sure where to begin? It can seem like a small item, but a well-made badge can say a lot. You might wonder about the best way to design it or what materials to use.
Creating a custom enamel badge that stands out involves clear intention, a focused design, and the right material choice. A strong badge distills your message into a small, wearable format that communicates effectively and sparks conversation, making a lasting impression.
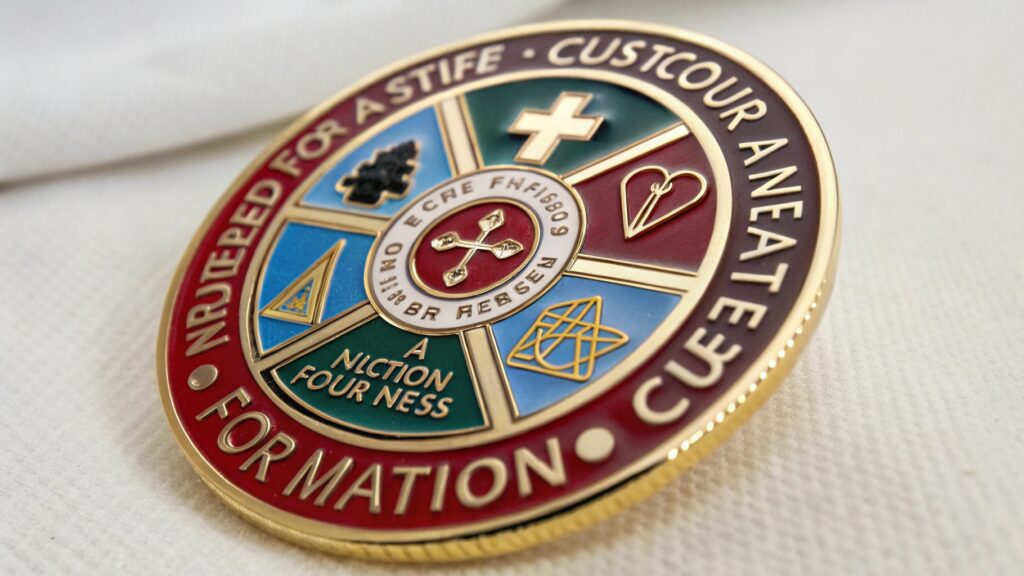
I've learned that making a badge pin is more than just a simple project. It's about expressing an idea in a tiny, powerful way. I want to share my insights to help you design a badge that truly speaks volumes.
Can you create private pins?
Do you want to make a badge that is unique to you or your group? You might be unsure if you can make a design that is truly yours and not available to everyone else. It can feel like custom items are only for big companies.
Yes, you can absolutely create private pins. This means designing and producing badges that are exclusive to you, your brand, or your specific group. The process involves working with a manufacturer or using DIY methods to bring your unique design to life, ensuring it's not publicly available or mass-produced for others.
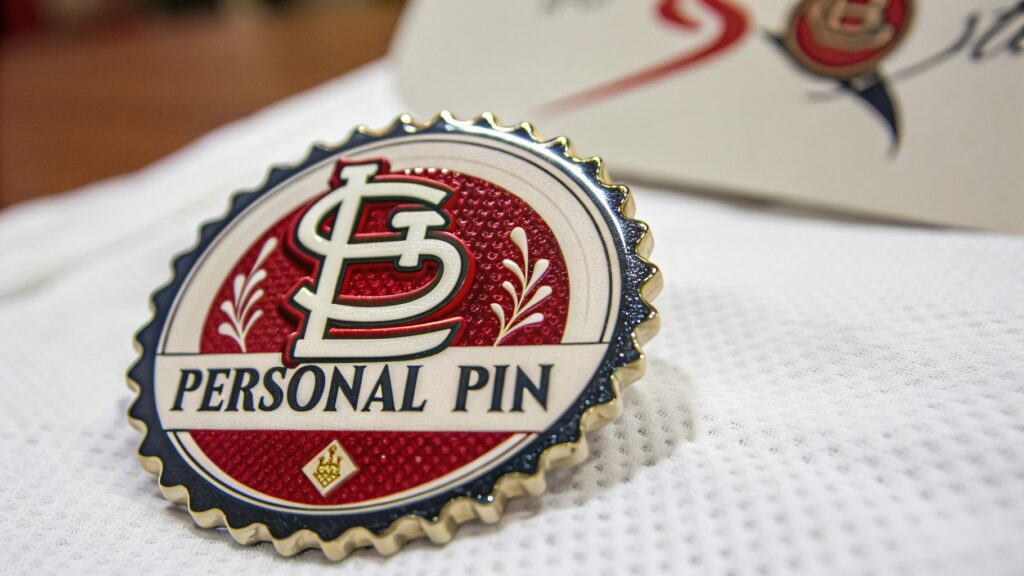
From my experience, creating a private pin starts with a clear idea of what you want it to say. It's not just about a logo; it's about the meaning you want to put into that small object. For example, a startup might create private pins1 for its first 100 employees to celebrate a milestone. These pins become symbols of belonging and achievement that only that group shares. They are not sold in stores. They are not given to just anyone. They are special because they are private. When I help clients with this, we focus on the "why" behind the pin. Why does this specific group need this specific badge? This helps us make a design that means something deep to them. This kind of custom item creates a sense of community and exclusivity. It makes people feel like they are part of something special, and that is a very powerful feeling.
The Value of Exclusive Pins
Private pins offer unique benefits that go beyond simple branding.
| Benefit | Description |
|---|---|
| Exclusivity | Creates a sense of privilege and belonging for those who receive it. |
| Brand Identity | Reinforces a unique brand or group identity that sets it apart. |
| Storytelling | Each pin can tell a specific story or commemorate a special event. |
| Collector's Item | Private pins often become valued by collectors due to their limited nature. |
How can I create my own pin?
Do you have a great idea for a pin but do not know how to make it real? It can seem complicated to turn a drawing into a physical badge. You might worry about the design process or finding the right materials.
To create your own pin, start by defining your concept and message. Then, design your artwork, keeping in mind the small size of a badge. Choose your material, such as enamel, acrylic, or metal, based on the look and feel you want. Finally, work with a custom manufacturer or use DIY methods like resin or shrink plastic to produce your pin.
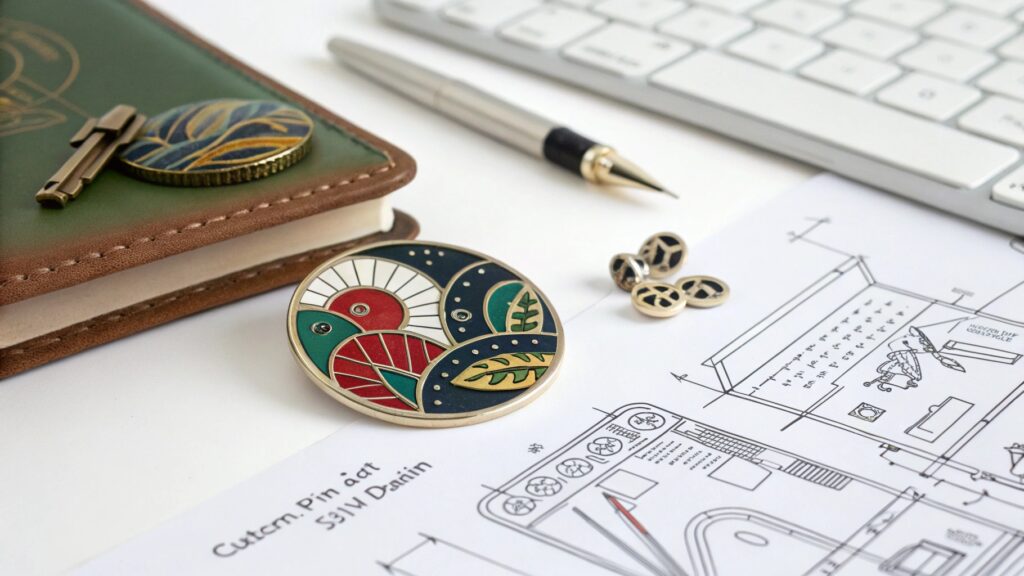
The process of creating a pin begins with intent. What do you want this pin to say without words? A powerful badge design2 is not necessarily complex. It is focused. A strong graphic, a bold phrase, or even a clever symbol can communicate a lot when scaled to the size of a coin. I always tell my clients to sketch their ideas first. Do not worry about perfection. Just get your thoughts onto paper. Then, think about the material. Do you want the shiny, classic look of enamel? Or something more modern and lightweight like acrylic? Each material gives a different feel to the pin. For example, an enamel pin feels solid and permanent, while an acrylic pin can be more playful. The making process, whether you send it to a factory or make it at home, should fit your message. This whole process is about turning your ideas into a real object you can hold and wear.
Steps to Crafting Your Custom Pin
A thoughtful approach ensures your pin truly reflects your vision.
| Step | Action | Purpose |
|---|---|---|
| Define Concept | Clearly decide the message or feeling your pin should convey. | Ensures a focused and meaningful design. |
| Design Artwork | Create clear, simple graphics or text suitable for a small scale. | Makes your message legible and impactful. |
| Choose Material | Select enamel, metal, acrylic, or other material based on desired look. | Determines the pin's aesthetic, durability, and cost. |
| Select Production Method | Decide between professional manufacturing or DIY techniques. | Aligns the making process with your budget and quality goals. |
How to make a safety pin badge3?
Are you interested in making a simple, handmade badge using a safety pin? You might want a quick, easy way to create a temporary or customizable badge without needing special tools. It can be a fun craft project.
To make a safety pin badge, start with a base material like cardboard, felt, or even a sturdy piece of fabric. Design your graphic or message directly onto this base. Cut out your design, then attach a safety pin to the back using strong glue, hot glue, or by stitching it securely. This method allows for quick, customizable, and often temporary badges.
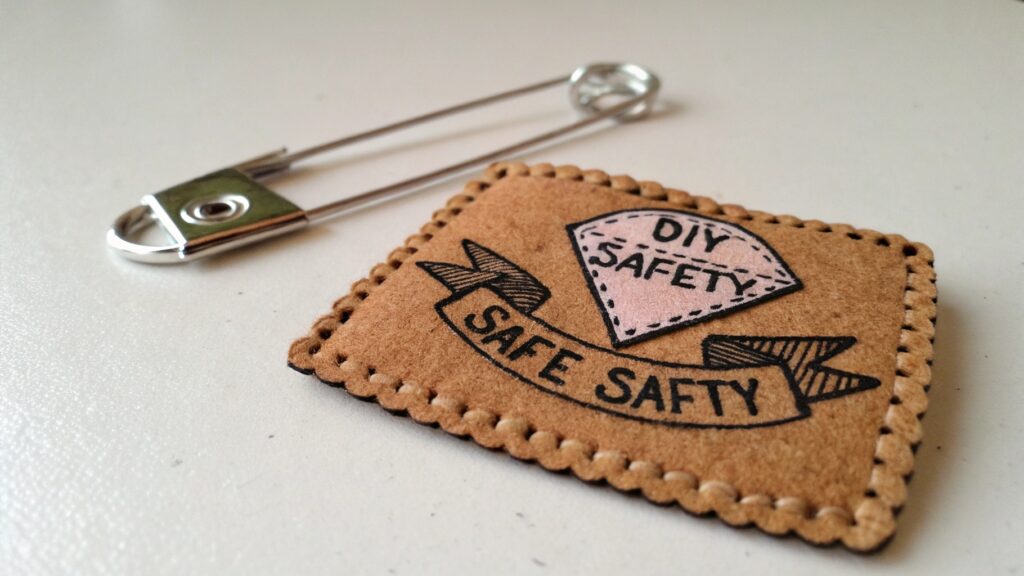
I've made many quick badges using safety pins, especially for events where I needed something simple and fast. It is a great way to express yourself without a lot of fuss. The key is to choose a material for your badge that is easy to cut and strong enough to hold the pin. Cardboard from an old box works really well. You can draw on it, color it, or even glue a printed image onto it. The most important part is attaching the safety pin securely. I usually use a strong craft glue, but if the material is thick enough, you can even stitch the pin onto it. Make sure the pin is positioned so the badge hangs correctly when worn. This type of badge is perfect for protests, casual events, or just for fun. It is about turning an idea into something you can wear right away. This kind of tactile permanence, even in a simple form, is powerful in a world of fast-moving digital content.
Simple Steps for DIY Safety Pin Badges
This method is perfect for quick, personalized badges with minimal supplies.
| Step | Detail | Purpose |
|---|---|---|
| Gather Materials | Collect cardstock, felt, old fabric, markers, glue, safety pins. | Provides the basics for your badge. |
| Create Design | Draw, print, or cut out your chosen graphic or text. | Brings your message to life. |
| Prepare Base | Cut your chosen material to the desired badge shape. | Forms the sturdy foundation for your design. |
| Attach Pin | Securely glue or stitch a safety pin to the back of the badge. | Allows the badge to be worn. |
Conclusion
Creating a custom badge, whether private or handmade with a safety pin, is about turning your ideas into a tangible form. By focusing on your message and choosing the right method, you can make a small item that makes a big statement.
-
Explore the concept of private pins to understand their uniqueness and how they can enhance your brand or group identity. ↩
-
Discover effective badge design practices to ensure your badges convey the right message and aesthetics. ↩
-
Get step-by-step guidance on creating simple safety pin badges for quick and creative expression. ↩

